If your have diabetes your doctor might tell you that you need to use a glucose meter. They will also show you how to use it accurately and safely, and how to record the results. Different types of meter and supplies are available, and so you might have to choose between them. Here are some things to consider:
- How big is the meter? Will it be easy to carry with you?
- Is it easy to use the meter and strips?
- Does it need only a small blood sample?
- How quickly do you get the results?
- Are the results easy to read?
- Can you check blood from places other than your finger?
- Does the meter make it easy to manage your results?
- How expensive are the supplies?
- Will your insurance cover the cost of the meter and supplies?
How to Use a Blood Glucose Meter
Once you have received your blood glucose meter you need to first read the user manual. You should then keep it in a safe place for future reference. It is important to check the meter and test strips for accuracy before the first use, and then at regular intervals.
A controlled solution might be provided, it may contain a known amount of glucose, and can allow you to check the accuracy of your test strips. Your meter might also come with a “check strip” to allow you to check that the meter is working correctly.
Although it can be confusing or scary at first, measuring your blood sugar is easy. All you need is the following:
- Soap, water, and alcohol wipes to clean your hands and finger (or other site to be sampled).
- A glucose meter to read your blood sugar level.
- Test strips to collect the blood sample.
- A lancing device, which pricks your finger when you press a button. You can usually control how deep the needle goes into your skin. This allows you to make sure you get enough, but not too much, blood.
- A small needle or lancet, which is placed in the lancing device to prick your finger.
Once you have these, just follow these easy steps:
- Wash your hands.
- Clean the finger (or area to be tested) with alcohol.
- Let the alcohol dry.
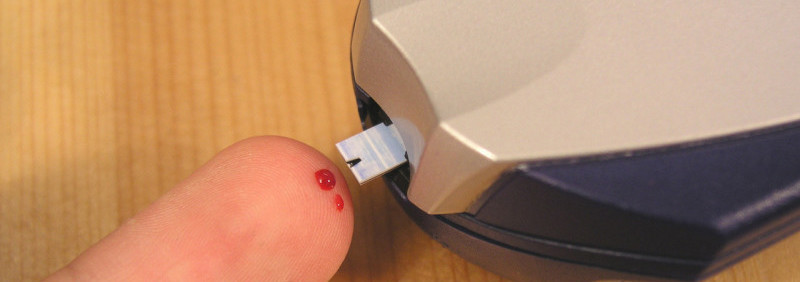
- Prick your skin with the lancing device to make it bleed.
- Place a small blood drop onto a new test strip.
- Insert the test strip into the blood glucose meter.
- Follow the instructions provided with the meter to read your blood sugar level.
- The results will be shown in seconds.
Sometimes you might encounter problems when checking your blood glucose level. Here are some common problems and solutions:
Collecting the blood sample hurts
- If possible, decrease the depth setting on the lancing device.
- Be sure to use a new lancet each time you check your blood sugar.
- Try a different, perhaps thinner, type of lancing device.
- Collect the sample from a different part of the finger, such as the side rather than the pad, or from your arm or thigh.
I’m having difficulty getting blood from my finger
- Try to increase blood flow by:
- Placing your hand below your waist.
- Warm your hands by placing under warm water and/or rubbing together.
- Hold a finger around the area you will sample, and squeeze gently.
- If possible, increase the depth setting on your lancing device.
- Be sure to use a new lancet each time you check your blood sugar.
- Make sure that your finger remains still when collecting your sample. Holding your hand on a table might help.
I’m having problems with my blood glucose monitor
- Check the user manual to identify error codes and problems.
- Check to make sure that the blood sample is placed on the right part of the strip.
- Make sure you test the right amount of blood. Samples that are too big or too small might give inaccurate readings.
- If you are still having problems, call the manufacturer of the blood glucose monitor or talk to your diabetes educator.
If you have diabetic test strip about to expire before you have the chance to use them, you can always sell diabetic test strips and get some money back.